Thursday, August 1, 2013

DIY: Animal Earphone Holder (Monkey)


  BEFORE

 AFTER

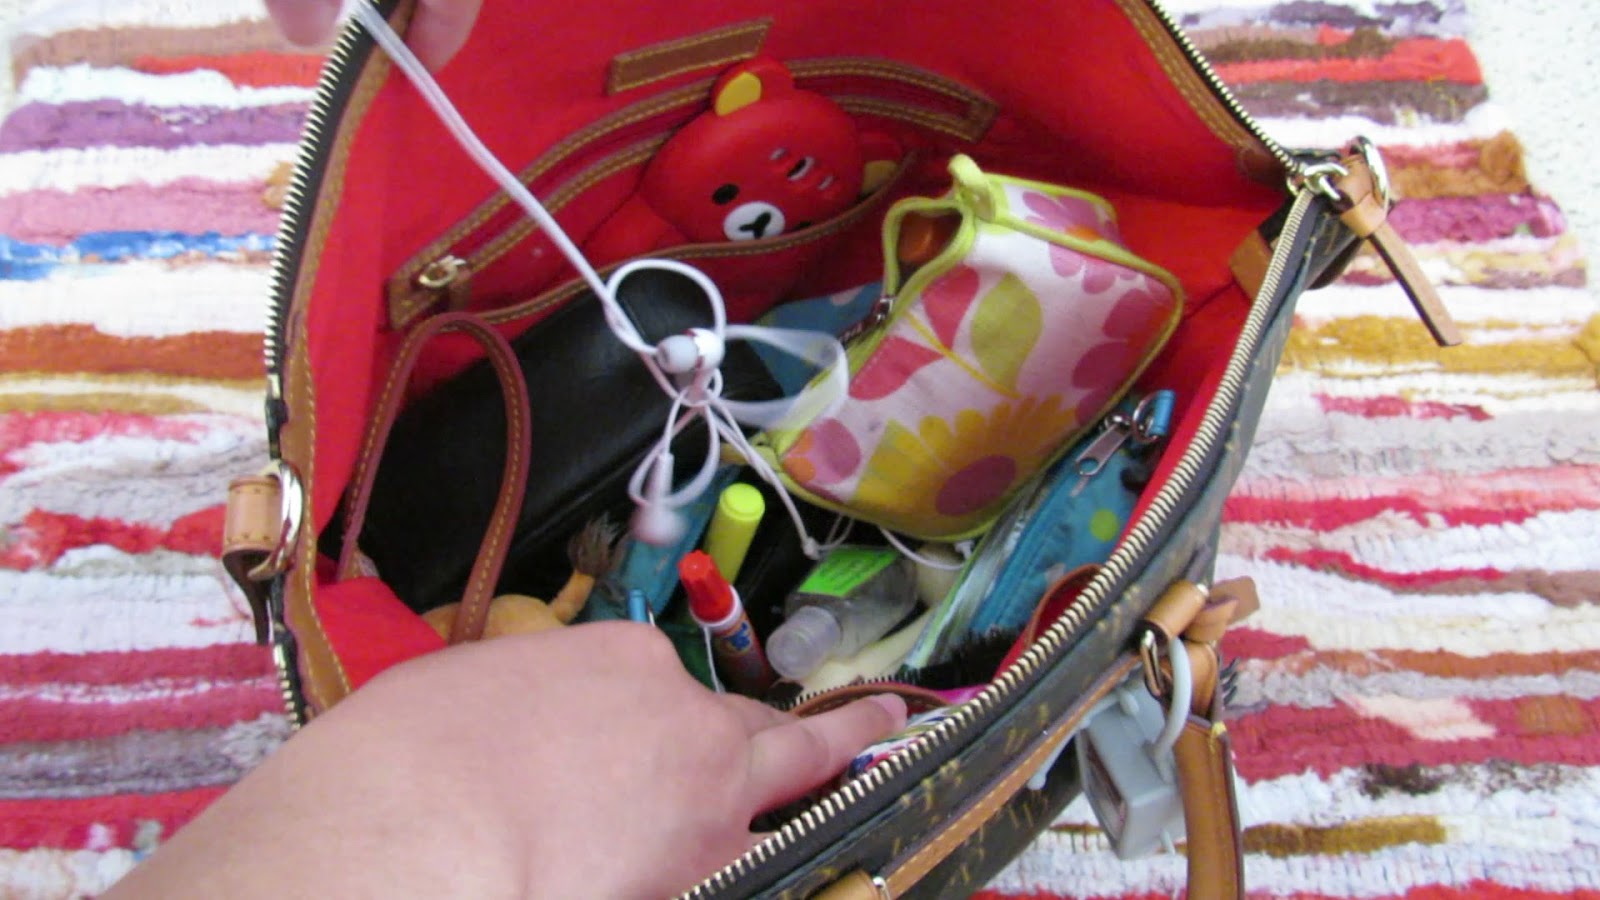
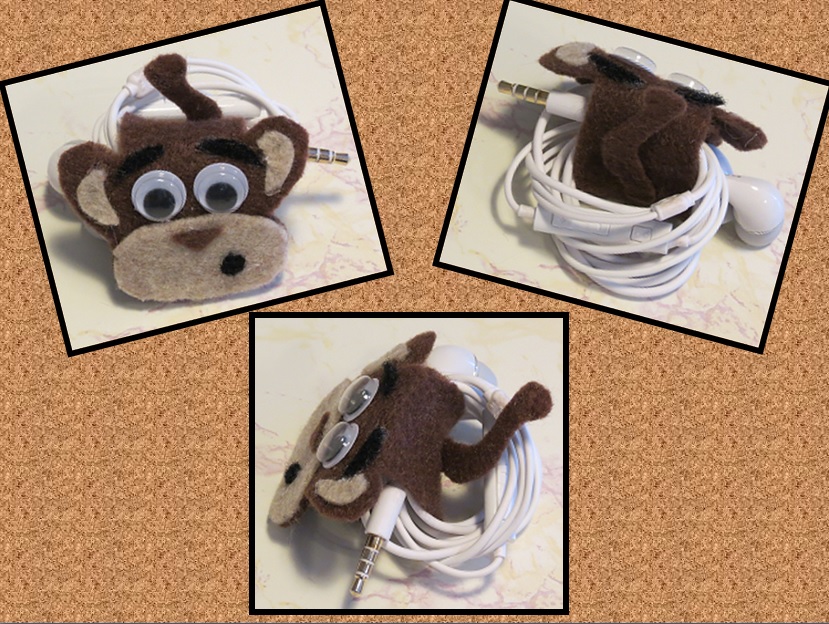
HELLO my friends :). I was getting sick of my earphones always getting tangled up when I put them in my bag, so I grabbed some felt along with some other materials and made a quick and cute earphone holder. Now my headphones don’t get loose and crazy in my bag anymore! Plus it only took me under 15 minutes to put this cutie together. I made a Monkey first (favorite animal) and then decided he needed some friends LOL. This post will only be about Mr. Monkey but the next post will definitely have Mr. Polar Bear, Mr. Duck, and Mr. Hippo.

What You’ll Need:

-Brown Felt (all felt was purchased at Wal-Mart for under $0.50 each)
-Tan Felt
-Velcro Circle Stickers/Hook and loop fasteners ($1 at Dollar Tree in the Closet Accessories Aisle)
-Googly eyes ($1 at Dollar Tree)
-Scissors ($1 at Dollar Tree)
-Hot glue gun (been having this baby for a long time so don’t remember exactly where I got it, but it can be found at any craft store like Hobby Lobby, JoAnn, or Michael’s and also at Wal-Mart)
-Monkey template (print image below)

Steps are shown in my video:

PART 2 COMING UP WITH THESE CUTIES!

♥♥ Winona 

Tuesday, July 16, 2013

No Heat Beachy Wavy Hair


Alohaa my lovelies ☼ In my very first post, I show you how to get this super easy No Heat Beachy Wavy Hair.


This hairstyle gives your precious locks the break it needs from those curling irons and straighteners. There is an accompanying video so please check that out!


The steps are outlined below:

Step 1: Shower—The power a shower can give your hair is wonderfulll. This hairstyle requires fresh clean locks to start off with in order to give your waves the bounce they need. Trust me, you don’t want oil and dirt weighing them down!

Step 2: Wait until your hair is about 80% dry before you brush it—Brushing your hair when it’s completely wet is so horrible for your hair since it’s vulnerable to breakage and damage. I recommend it to be at least 75-80% dry so then your hair is not as vulnerable. 

Step 3: Brush, brush, brush—Brush your hair until you’re tangle-free! This also reduces the amount of frizz in this hairstyle. 

Step 4: Part your hair and separate it into two sections—You want both sections to be of equal amounts.

Step 5: Braid each section and secure them with a hair tie/elastic—The tighter the braid, the tighter the wave, and vice versa for looser waves.

Step 6: Sleep…zZzzzZzz—This is the easiest step! 
 
Step 7: Wake up and take out each braid—You should already see the wavy hair effect at this point.

Step 8: Mess around with your hair until it’s the way you want it to look—Run your fingers through your hair, flip your hair upside down, shake it, then flip back up and voila! You’ve now achieved the No Heat Beachy Wavy Hair look! You can use whatever styling products you want in order to maintain this hairstyle, but I usually don’t do anything. At most, I use a sea salt spray if I feel one of my waves needs a boost.

Hope these steps were helpful!
♥♥ Winona